How to Take Professional Headshots by Yourself at Home [2026]
Last updated: April 2026
Ever found yourself needing a professional headshot yesterday? Maybe for that last-minute job application, an unexpected networking opportunity, or updating that increasingly outdated LinkedIn profile picture—yikes, does that even look like you anymore?
Fortunately, you don't need to rush and book a pricey studio session. You can learn how to take professional headshots by yourself at home for a fraction of the cost. And, you might (we said might) have a bit of fun in the process, too.
Below, we'll walk you through everything you need to know to take professional headshots by yourself—from setting up the perfect space to dialing in your outfits and poses.
Quick shortcut: You can skip all these steps and get straight to high-quality photos with Aragon—it's our AI headshot generator that turns your so-so selfies into woah-woah professional headshots. Upload 6 photos, wait about 30 minutes, and receive up to 100 studio-quality headshots. New users get free credits to try the editing tools. Try it and see for yourself.
How to Take Professional Headshots by Yourself
Think you need a professional studio or an expensive photographer to get that perfect headshot? Think again.
We can help you turn your bedroom or living room into the perfect setting to capture your professional headshot. Plus, you won't need to run off to IKEA or Hobby Lobby to get any lighting or props—there's a good chance you already have everything.
1. Plan Your Headshots
Before you start painting your walls or moving furniture around the room, pause and think about the kind of headshot you need. Are you:
- Updating your LinkedIn profile picture with a professional look
- Going for a casual, relaxed vibe with your dating profile
- Taking a clean photo for your residency application
- Showing off your corporate side with a suit and tie
Everything you do next depends on your answer to this question, so take some time and think about it.
2. Find Headshot Examples You Like

Do a little extra homework before you start lining up the camera. Look around the internet for headshot examples that catch your eye. Need a starting place? Check out Professional Headshot Examples to Inspire Your Own.
What draws you to (or away from) these examples? Do you like the way they posed, or is it the outfit they're wearing? What do you think about their look? Did they do anything special with lighting?
This isn't about copying—it's about finding the qualities you want in your own headshot. Save these headshots for later. Once you're done with the process, it's fun to see how your final headshots compare to the examples that inspired you from the get-go.
3. Choose the Background
The right background takes your headshot from good to great. Sometimes, that's simply standing in front of a plain white wall—other times, it's incorporating a textured curtain or outdoor setting.
Regardless of your background choice, you'll always want to go for subtle. Remember, the headshot is about you—you are the focus. Never let your background steal the show. Its only purpose is to complement you.
Quick background guide by use case:
| Use Case | Recommended Background |
|---|---|
| LinkedIn Profile | Simple, uncluttered with soft grays or blues |
| Creative Portfolio | Textured background or outdoor setting (brick wall, greenery) |
| Corporate Website | Solid, neutral backdrop or professional office environment |
| Dating Profile | Something that tells your story (cozy cafe, outdoor adventure) |
| Modeling Portfolio | Mix urban textures or play it safe with neutral colors |
| Residency Application | Clean, simple background color |
4. Tweak Your Lighting

Light yourself well. Good lighting can brighten eyes, smooth skin, and make your best side pop. Here's how to light it right:
Chase the Sun: Natural light is your best friend. Position yourself near a window for soft, natural light. Avoid harsh direct sunlight, though—that can create shadows and highlights that are a bit too dramatic.
Avoid Overhead Lighting: Stay away from overhead lights—they give you that raccoon look (and not in a good, cute way).
Ring Light Magic: A ring light provides even light all around you. It gives you that professional glow without the shadows.
Pro tip: Face the light source directly or at a 45-degree angle. Light coming from behind you creates silhouettes—not ideal for headshots.
5. Dress for the Occasion

Your outfit (including your hair) might be your only prop—make it count. This should never detract from you. Your wardrobe and style should highlight the best parts about you.
Remember, it's all about getting that job, impressing that investor, or winning that date. Nobody cares about your cool, patterned shirt—they care about you.
Best practices:
- Stick with classic cuts and solid colors to keep your headshot timeless
- Avoid trendy outfits or hairstyles that will date quickly
- Choose colors that complement your skin tone
- Make sure everything is wrinkle-free and fits well
Ultimately, do what makes you feel good. That's the most important part of taking your professional headshot by yourself at home. Look your best, feel your best, be your best.
6. Set Up Your Gear
You don't need anything fancy for your at-home photoshoot. Your smartphone camera will likely do the trick, but you can always use a digital camera if you're feeling fancy (and just happen to have one nearby).
Critical setup tips:
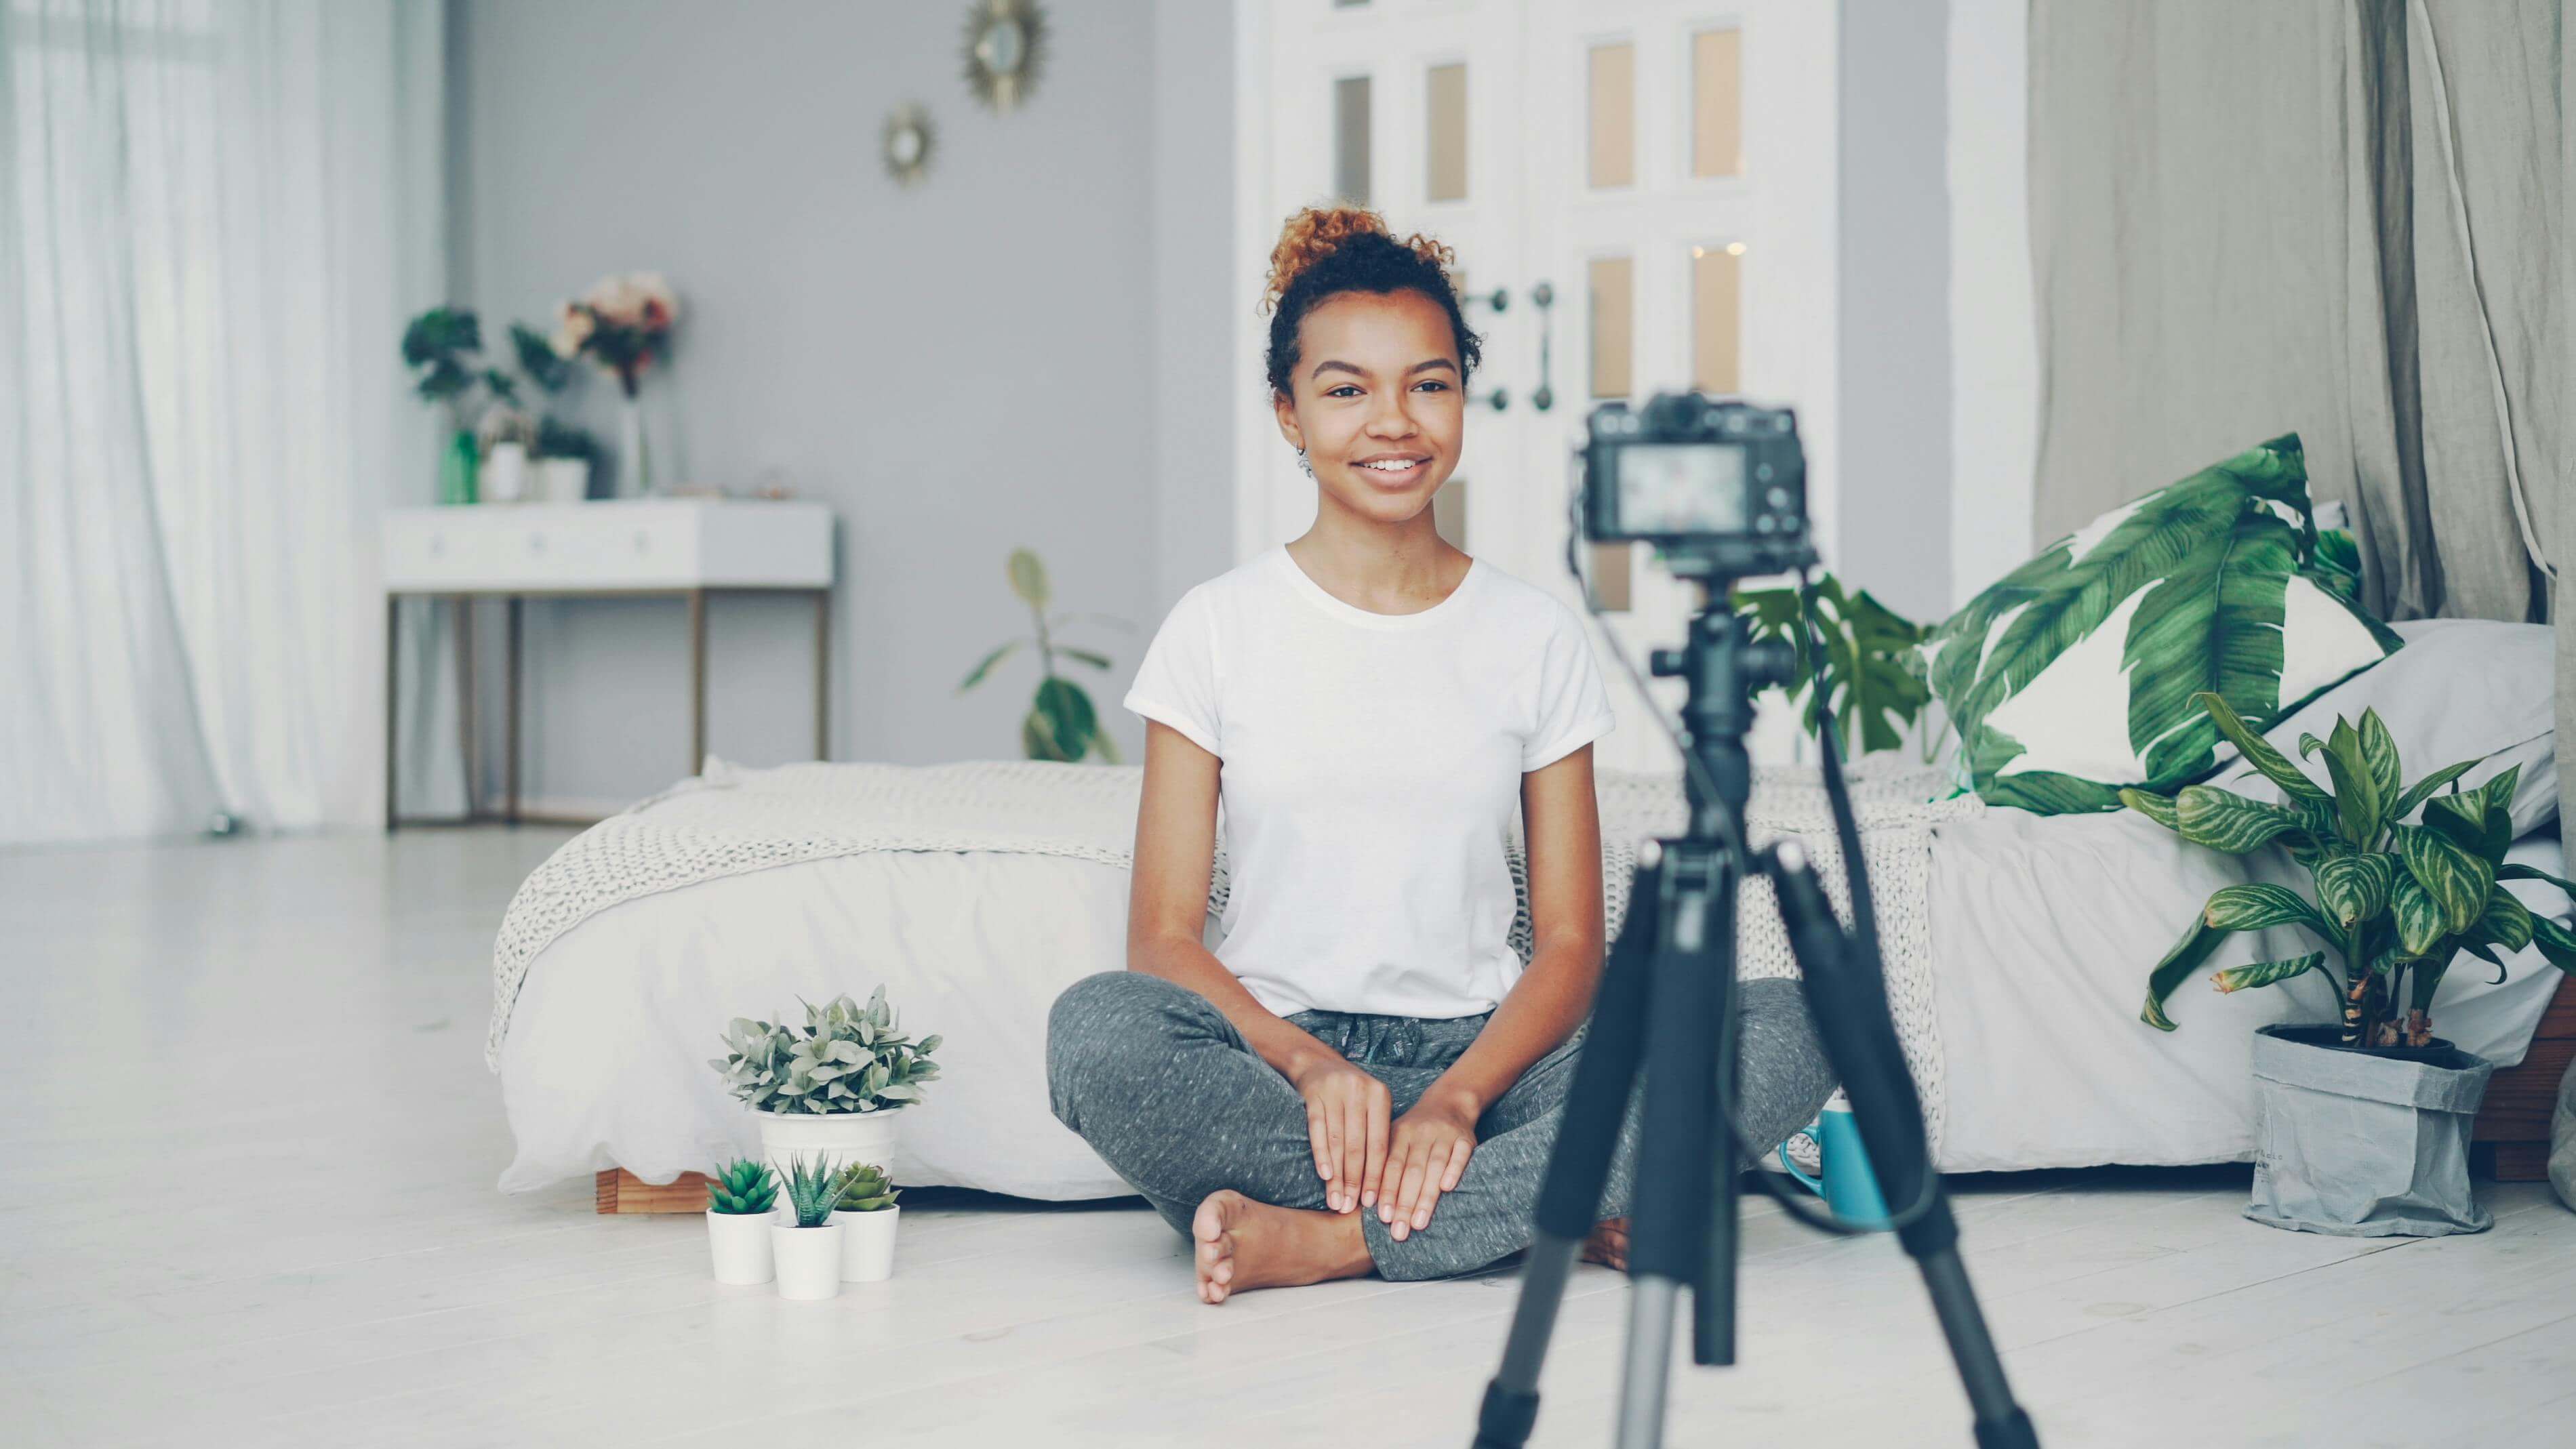
- Position it on a stable surface. Please, for the love of this world, don't try to take a selfie for your professional headshot. Put your camera on a sturdy surface or tripod.
- Set the camera at eye level. Too high, and you'll get bird-eye view vibes—too low, and you'll get a cute double chin.
- Use a remote shutter or smartphone assistant to take a hands-free picture.
- Clean your lens. A smudgy camera ruins even the best lighting and poses.
7. Try Multiple Poses
Start with your go-to pose. You know which one we're talking about. The best part about taking professional headshots at home by yourself is that you have nothing to worry about—just have fun. Be yourself.
Nobody is watching. Do your executive impressions, play around with classic poses, and experiment with model shots.
Poses to try:
- Direct eye contact with camera
- Looking slightly off to the side
- Over-the-shoulder glance
- Slight head tilt
- Different angles (left side vs. right side)
It's all about quality over quantity, so just take dozens of different pictures and narrow them down later.
8. Take Lots of Shots
Go to town on the shots. Delete some extra space on your phone or camera if you need to—give your headshots room to breathe.
More shots give you more opportunity to find that perfect headshot. Unless you're doing a modeling or actor headshot session, you don't need dozens of headshots. You usually just need one.
Change your poses, tweak your smile, and adjust your gaze—each shot might reveal a different part of your personality.
9. Edit, Edit, Edit
Editing is where the magic happens. It's really important—that's why I said it three times, you know, instead of once.
Start with the basics:
- Adjust brightness and contrast to make sure you are well-lit
- Smooth out any distracting shadows or highlights
- Tweak color balance to keep skin tones natural and healthy-looking
Remember: Less is more. Avoid over-editing. Edit too much, and you won't look like yourself anymore—and that's not what we're going for here.
Use blemish removers sparingly. The goal is to polish your shot subtly so it still looks natural.
10. Choose Your Favorite Shots
You've done the hard part, and now it's time to kick back, relax, and reap the rewards.
Selection process:
- Weed out the obvious no-gos — awkward looks, poor lighting, off moments
- Apply the "meh" test — if it doesn't excite you, get rid of it
- Focus on the winners — the shots where you look cool, confident, and approachable
- Compare side by side — look for clarity, lighting balance, and that spark in your eyes
- Don't rush — sometimes the best choice becomes more obvious the longer you sit with it
Finally, get a second opinion. Ask someone to look through your options and choose their favorites. Fresh eyes can often spot things you might have missed (like that flyaway or wrinkly collar). And, after all, this headshot isn't just for you—it's for every potential client, employer, or special somebody who sees it.
Skip the At-Home Photo Session with Aragon

Feeling a little camera shy or just not up for the DIY professional headshots by yourself at home? No worries—we created Aragon for you.
Aragon lets you skip the at-home photo session and get straight to high-quality headshots. Here's how:
Super Simple: Forget about juggling gear and tweaking settings. Upload 6 photos, wait about 30 minutes, and receive up to 100 studio-quality headshots. Aragon handles all the heavy lifting—from lighting and backgrounds to poses and outfits.
Consistently Professional: Every shot is high-quality, ready-for-publication material. No additional editing necessary. Over 2 million professionals trust Aragon, with a 4.9/5 rating across 5,800+ Trustpilot reviews.
Custom-Made: Use our free editing tools to customize backgrounds, outfits, hair, and poses:
New users receive free credits to try all the features.
Budget-Friendly: Save on studio fees, photographer costs, and travel. Aragon offers quality headshots for a fraction of traditional photography costs. Every purchase is backed by a money-back guarantee.
Built by former researchers and engineers from MIT, Google, and other leading institutions. SOC 2® Type II compliant with enterprise-grade security.
Ready to let Aragon take professional headshots at home for you?
👉 Try Aragon and see how easy it is
FAQs
Can I really take professional headshots with my phone?
Yes! Modern smartphones have excellent cameras that can produce professional-quality images. The key is proper lighting (natural light near a window works best), a stable surface or tripod, and the right settings. That said, AI headshot generators like Aragon can transform even basic phone selfies into studio-quality headshots.
What's the best background for a professional headshot at home?
For most professional uses (LinkedIn, corporate websites, resumes), stick with simple, uncluttered backgrounds in neutral colors like white, gray, or soft blue. A blank wall works perfectly. Avoid busy patterns or distracting elements that pull attention away from you.
How many photos should I take?
Take as many as you can — 50 to 100 shots isn't unreasonable. More shots give you more options to find that perfect headshot. Vary your poses and angles. It's much easier to delete extras than to realize you don't have enough good options.
What if I don't have good lighting at home?
Position yourself facing a large window during daylight hours for the best natural light. Avoid harsh midday sun — overcast days or morning/evening light work beautifully. If natural light isn't available, a ring light is an affordable option that provides even, flattering illumination.
Related Guides: Professional Headshot Examples | Outdoor Professional Headshots


