The Complete Guide to Outdoor Professional Headshots [2026]
Last updated: April 2026
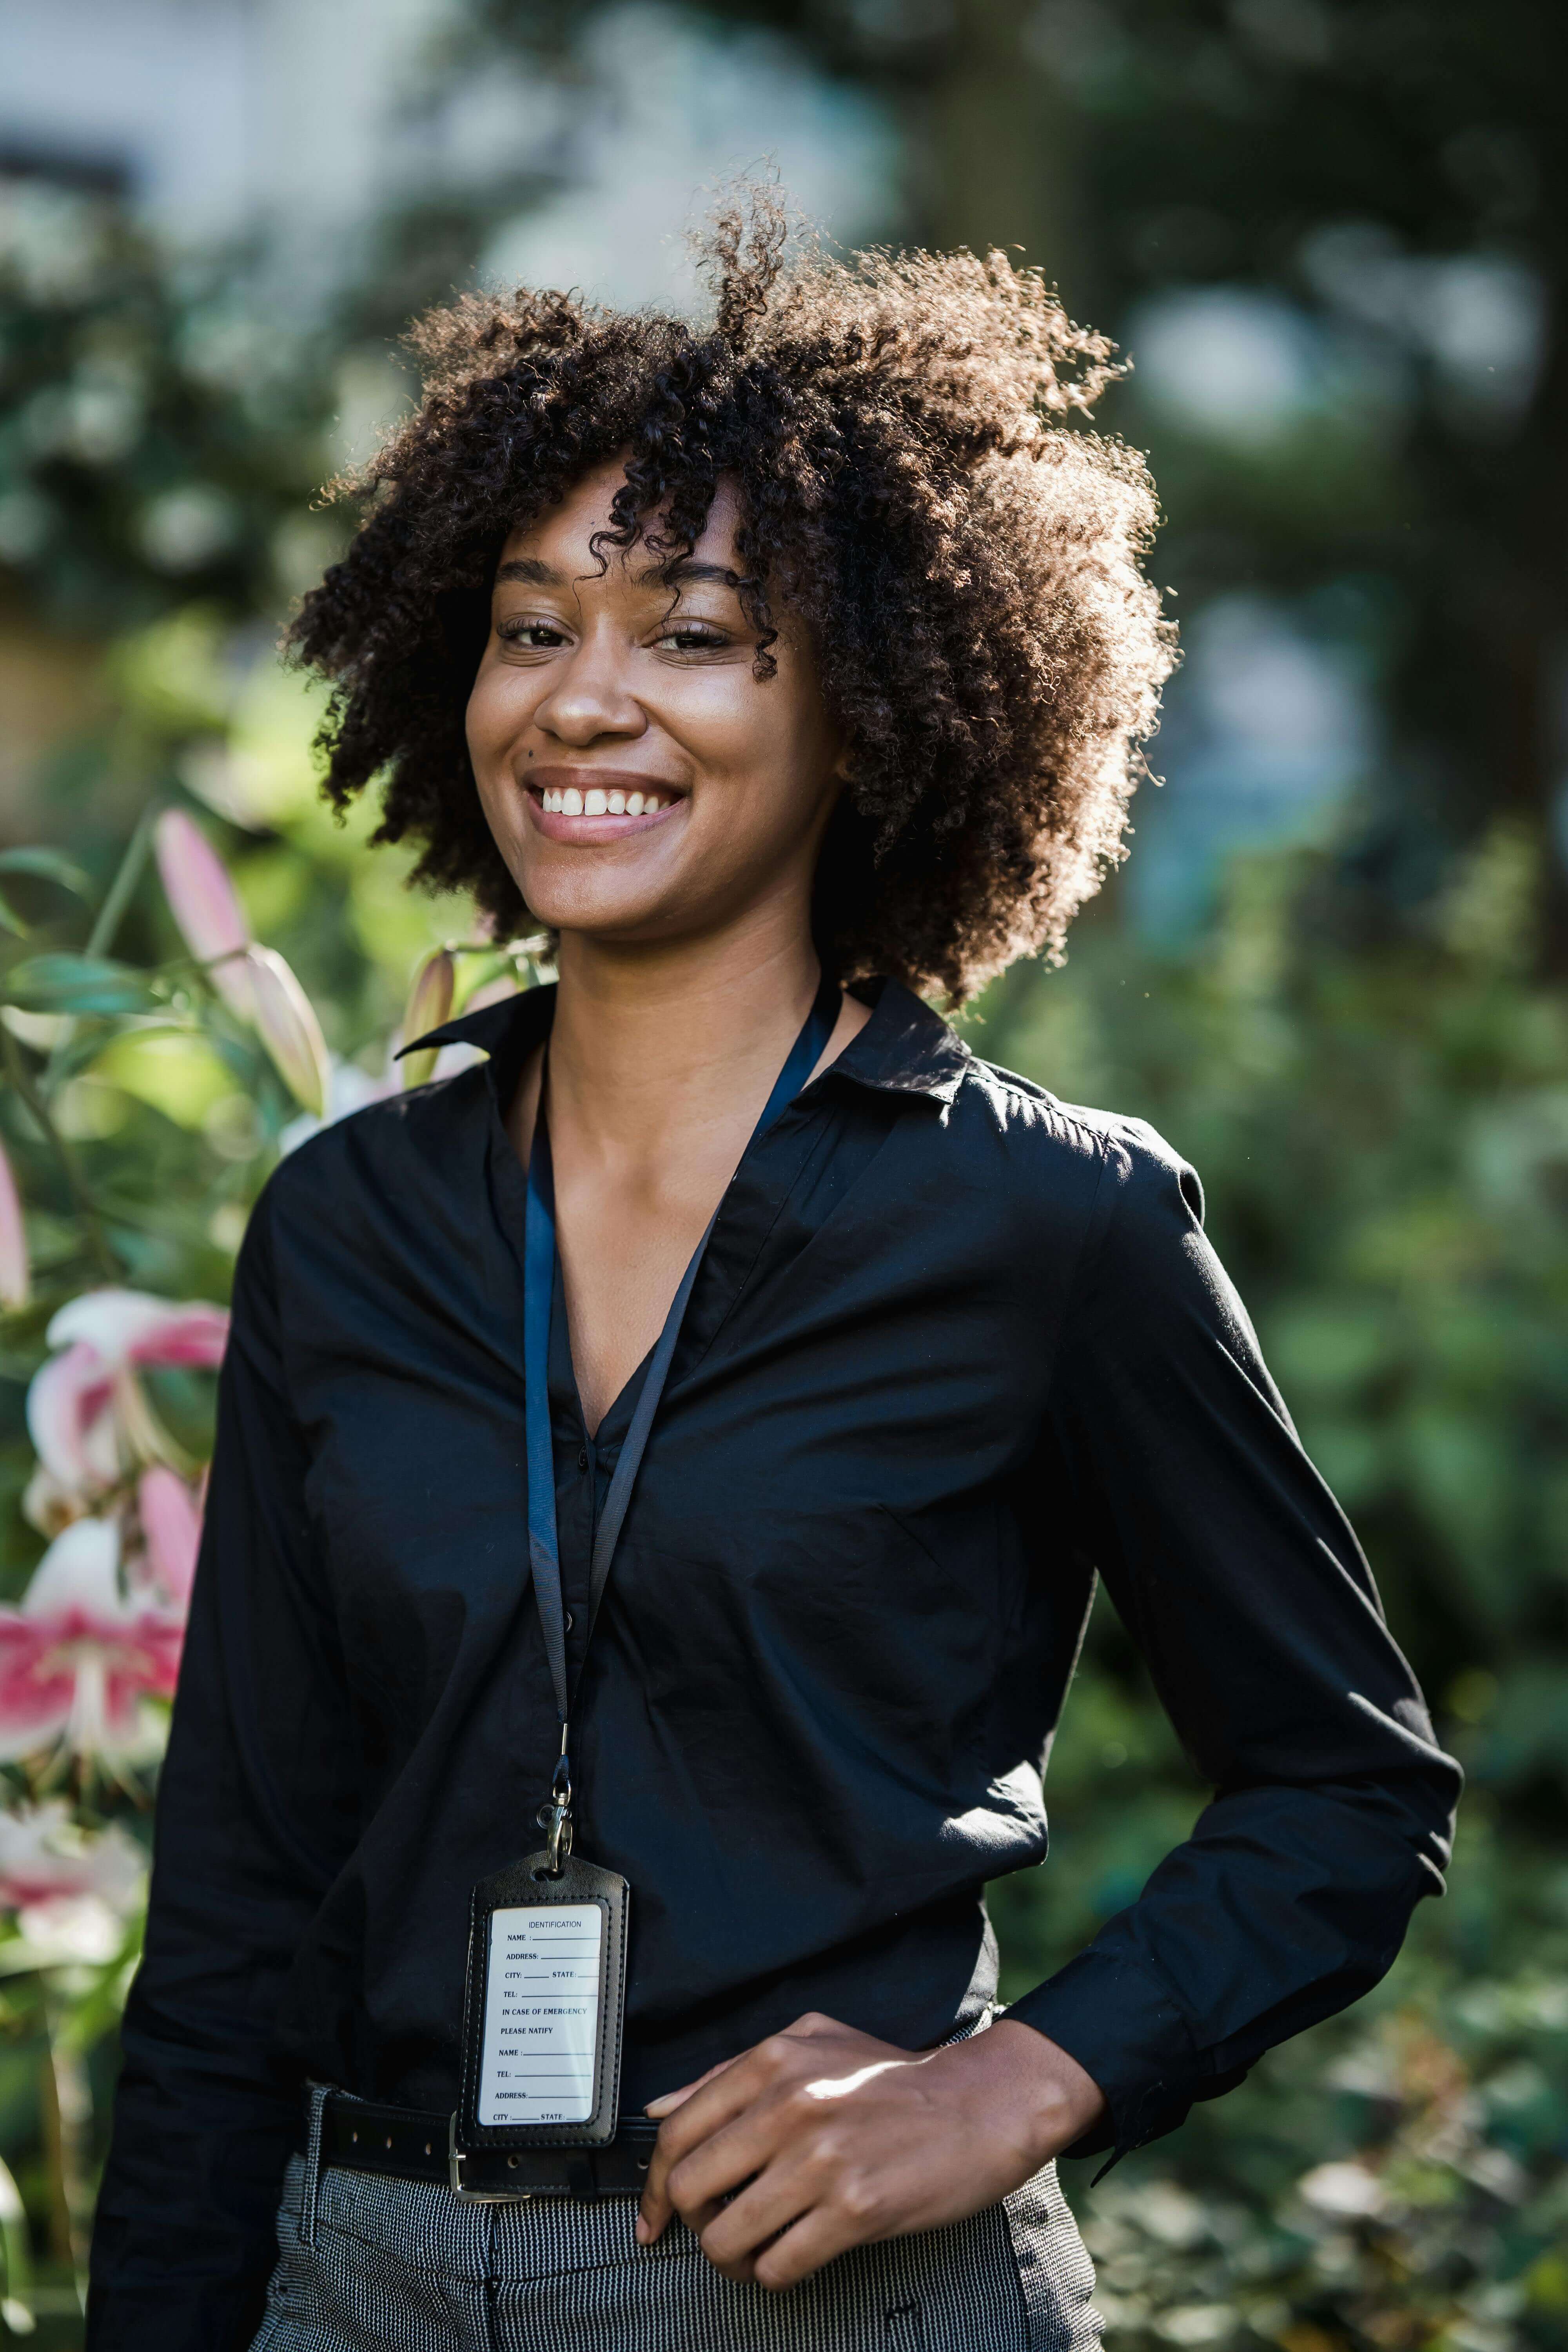
Step out the door, and let's talk outdoor professional headshots. These headshots take advantage of natural light, beautiful scenery, and the vibrant hues of a wide-open blue sky.
There's a time and place for indoor headshots, but why confine yourself inside (and pay the studio fees) when you could take your photoshoot outside?
Outdoor professional headshots can help you accomplish your branding goals:
- Updating your LinkedIn profile for a warm, approachable look
- Adding a bit more personality to your "About Us" page
- Taking a fresh approach to classic corporate headshots
- Showing off your fun side for a dating profile picture
- Highlighting your unique look for an outdoor modeling or acting role
However, taking your photoshoot outside isn't as simple as throwing on a jacket and pushing your photographer out the door. You have weather, lighting, angles, outfits, and backgrounds to consider.
Should you take your headshot in the morning or the evening? Does golden hour really matter? What looks better: architectural patterns or natural-looking groves of trees?
Fortunately, we've got your back. Below, we'll walk you through everything you need to know about outdoor professional headshots to capture your perfect look under the wide-open sky.
Indoor vs. Outdoor Professional Headshots
Outdoor vs. indoor professional headshots—what's the difference? Do you go with the controlled, consistent environment of a studio or embrace the adventurous vibe of the great outdoors?
Each has its charm, so let's break down the differences:
Indoor Headshots
Controlled Environment: The biggest perk of indoor shoots is control. Lighting, background, and ambiance—all at your fingertips, meaning fewer surprises and more consistency.
Year-Round Availability: Rain or shine, snow or clouds, the studio is always open. This means you can schedule your headshot without worrying about the weather.
Professional Equipment: High-end lighting rigs, various backdrops, and all the gear you need are right there.
Outdoor Headshots
Natural Lighting: There's just something magical about natural light that can make your headshots come alive. The golden hour—just after sunrise or before sunset—can provide lighting that's nearly impossible to replicate indoors. The real sun wins just about every time (go figure).
Dynamic Backgrounds: Outdoor settings provide backdrops that add depth and interest to your headshots. Lush parks, seaside beaches, urban settings—the world's your oyster.
Fresh Vibe: Outdoor photos bring a sense of freshness and energy, especially if you're aiming for a more approachable professional headshot.
The verdict? There's no right or wrong answer. You'll just have to choose which feels right. That can be a bit more tricky when choosing a traditional photography headshot session, but it's downright simple when you use an AI headshot generator like Aragon—it'll take you outside wherever you'd like to go. No long car drives, wardrobe changes, or extra fees.
12 Tips to Take Better Outdoor Professional Headshots
Like we said before, taking an outdoor professional headshot isn't as simple as walking outside. You'll need to think about the sun, weather, wind, location, reflectors, outfits, timing, aperture, and more.
Here are all the tips you need to take better outdoor professional headshots:
1. Time It Right
Timing is everything, especially when it comes to lighting. For those soft-glow headshots, aim for the golden hours—just after sunrise or before sunset. This golden effect can make just about anyone look like a morning person.
Still, you don't need to be an early bird or sunset chaser to get the perfect headshot. Cloudy days can be your best friend, too. They create an even, diffused light that eliminates harsh shadows.
2. Scout Your Location

Unless you're taking your own headshots (which comes with its own handful of complexities), you'll want to scout out your outdoor location in advance. Look for places that'll make for a good headshot backdrop, such as a rustic brick wall, a modern bridge, or an old-fashioned park bench.
Keep your eye out for interesting textures and colors. You don't want anything too much—remember, the headshot should focus on you. Also, think about accessibility and privacy. A headshot on a crowded street or at a park might introduce background distractions.
3. Check the Weather
Keep your eye on the forecast leading up to your outdoor session. It's nearly impossible to get a perfect day, but that's ultimately what you're shooting for.
Weather elements to watch for:
| Element | Why It Matters |
|---|---|
| Sun | Too little = dark photos; too much = harsh shadows |
| Rain | Obvious — unless you're going for a dramatic look |
| Wind | Hair chaos, clothing flutter |
| Smoke/Fog | Hazy photos, potential health concerns |
| Cold | Red nose, shivering, uncomfortable expressions |
| Heat | Sweating, squinting, fatigue |
4. Use Reflectors
Reflectors bounce light where you need it most to eliminate under-eye shadows and illuminate your must-see features. When outdoors, a simple reflector can transform a shaded area into a well-lit outside studio.
You'll find reflectors in different sizes and colors, but don't worry too much about finding the perfect one (unless, you know, photography is your thing). Choose a basic white or silver reflector—it's a solid choice for simple headshots.
5. Choose the Right Outfits
Stick to solid colors that complement your skin tone and avoid overly busy patterns that might clash with natural backgrounds. Experiment with layers—a nice cardigan might go nicely over a plain t-shirt and add depth to your headshot.
Outfit tips for outdoor shoots:
- Plan a few different outfit changes
- Keep things mostly safe, but throw a few wild cards in
- Choose colors that contrast with your background
- Avoid logos and busy patterns
- Bring a lint roller for last-minute touch-ups
6. Manage the Wind and Elements
When you step outside, Mother Nature is in charge. A sudden breeze can turn a sleek look into a wild mane affair—be prepared.
Wind-proofing essentials:
- Bring hair clips, a brush, and extra hair products
- Consider more secure hairstyles on windy days
- Choose heavier fabrics that won't flutter during gusts
- Have a mirror handy for quick checks between shots
7. Use a Longer Lens
A longer lens can give you a nice compression effect that helps blur out the background. Choose something like an 85mm or even a 70-200mm zoom. This will keep your features softer and more proportional while creating beautiful background blur (bokeh).
8. Mitigate Background Distractions
You can't control the world outside, but you can do your best to set the stage. Look for spots with minimal distractions—like a simple stone wall, green shrubs, or a clear blue sky.
Watch out for unwanted elements:
- Poles and wires
- Pedestrians and animals
- Reflections and glare
- Trash cans and signage
- Parked cars
9. Mind the Sun
Sunlight can be your best friend or worst enemy in photography. Direct sunlight can create harsh shadows and bright highlights—both no-nos for professional headshots.
Sun management tips:
- Position the sun behind you to avoid raccoon eyes or squinting
- If the sun is too intense, find shade under a tree or use a diffuser
- Early morning or late afternoon offers the most flattering light
- Avoid shooting between 11am and 2pm when the sun is harshest
10. Play with Aperture
Open up that aperture wide (think f/2.8 or wider) to keep the focus sharp on you while blurring out any background distractions. However, if you want to put more of your surroundings into focus, tighten it up (around f/8 or smaller).
| Aperture | Effect |
|---|---|
| f/1.4 - f/2.8 | Very blurry background, focus on face |
| f/4 - f/5.6 | Moderate blur, some background detail |
| f/8+ | Sharp background, environmental portrait |
11. Review Your Shots Early
Don't wait until you get home (or the end of your session) to check out your headshots. Take a minute every once in a while to review them. It'll give you time to adjust poses, fix hair mishaps, or smooth out wardrobe wrinkles.
Think of it as peeking at your answers during a test—except legal and highly recommended.
12. Keep Your Pose Natural
Relax and breathe in the fresh air. Formal poses belong in the studio—keep your outdoor professional headshots light and natural.
Natural pose ideas:
- Lean slightly against a nearby tree
- Sit casually on a low wall
- Stand with one foot slightly in front of the other
- Walk slowly while the photographer captures candid shots
Encourage your photographer to capture candid moments when you're adjusting your hair or laughing at a joke—these spontaneous shots often end up being the most genuine and appealing.
Get Professional Outdoor Headshots (from Inside) with Aragon
Don't have time to go outside, or is the weather not cooperating? Aragon lets you skip the travel, weather worries, and unexpected costs to get your outdoor professional headshot.
Here's why Aragon is your go-to solution for hassle-free, high-quality headshots:
No Travel Required: Forget about long commutes to distant locations. Upload 6 photos from home, wait about 30 minutes, and receive 100+ professional headshots without stepping out your door.
Different Backgrounds: Use our free editing tools to choose from a variety of backgrounds that capture the great outdoors — parks, urban settings, natural scenery, and more.
Weather-Proof: Say goodbye to weather delays. With Aragon, sunny or rainy days won't disrupt your plans. Over 2 million professionals trust Aragon for consistent, reliable results.
Variety of Outfits: Experiment with different outfits in your shots using our Clothing Changer tool. No need to pack a bag full of wardrobe options.
Flexible Poses: Try multiple poses and see what works best without the pressure of time constraints and on-the-spot decisions.
Free Credits: New users receive free credits to try all the editing tools and customize their headshots.
No Extra Fees: Avoid unexpected costs like travel fees, photographer overtime charges, or last-minute prop rentals. Aragon costs a fraction of traditional outdoor photography sessions.
Ready to upgrade your outdoor headshots?
FAQs
What is the best time of day for outdoor headshots?
The golden hours — just after sunrise or just before sunset — provide the most flattering natural light. The sun is low, creating soft, warm tones without harsh shadows. Overcast days also work well, as clouds act as a natural diffuser.
What should I wear for an outdoor professional headshot?
Stick to solid colors that complement your skin tone and contrast with your background. Avoid busy patterns that clash with natural settings. Bring layers for visual interest and a few outfit options to vary your shots.
How do I avoid squinting in outdoor photos?
Position yourself so the sun is behind you or to the side, not directly in front of you. Shoot during golden hour when the light is softer. Using shade from trees or buildings can also help reduce squinting.
Can I get outdoor-style headshots without actually going outside?
Yes! AI headshot generators like Aragon let you choose from various outdoor backgrounds without leaving your home. Upload your photos, select an outdoor setting, and receive professional results — no weather concerns, travel, or scheduling hassles.


